
You’re probably here with a pair of clippers in one hand, a bag of treats in the other, and a dog who has suddenly become very busy doing anything except offering you a paw. That’s normal. Nail trims look simple until you try to do one safely on a living, wiggling animal who isn’t sure your plan is a good one.
The good news is that learning how to properly clip dog nails isn’t about speed or bravery. It’s about setup, small motions, and reading what the nail and the dog are telling you. Most mistakes happen when people rush, cut too much at once, or try to push through fear instead of training around it.
Table of Contents
- Why Clipping Dog Nails Can Feel So Stressful
- Choosing Your Tools and Setting the Stage
- A Step-by-Step Guide to the Perfect Trim
- Handling Dark Nails and Anxious Dogs
- Aftercare and Troubleshooting Common Issues
- When to Outsource to a Groomer or Vet
Why Clipping Dog Nails Can Feel So Stressful
Your dog sees the clippers, pulls a paw away, and starts breathing faster before you even touch a nail. That moment rattles a lot of owners. The fear is reasonable. A nail trim can hurt if you cut into the quick, and dogs often react to your hesitation as much as the tool itself.
For first-time owners, the stress usually comes from two separate problems happening at once. One is technical. You have to judge how much nail you can safely remove, which gets harder on black or dark nails. The other is emotional. Many dogs dislike paw handling, restraint, pressure on the toes, or the sound and feel of the tool. If you only focus on clipping mechanics, you miss half the job.
Practical rule: A calm trim depends on two skills. Reading the nail, and reading the dog.
Long nails can affect comfort and foot placement over time, but the immediate challenge is often the session in front of you. A dog that tenses, pants, or jerks a paw can turn a simple trim into a risky one. If you are seeing stress signs during handling, this guide on why your dog may be breathing heavy can help you sort out fear, heat, exertion, and pain before you continue.
Owners tend to freeze for a few predictable reasons:
- The quick feels high-stakes: It contains blood vessels and sensitive tissue, so even careful people worry about causing pain.
- Dogs move at the wrong moment: A sweet, cooperative dog can still snatch a foot back just as the clipper closes.
- One bad experience carries forward: If a trim hurts or feels forced, many dogs remember it at the next session.
- Dark nails remove the visual safety margin: On clear nails, you can often see where to stop. On dark nails, you need a slower method and better visual cues.
This is why patience matters more than speed. Some dogs do best with one nail, a break, and a treat. Some need several short practice sessions before you clip anything at all. That is normal. Good nail care is not about finishing fast. It is about keeping the dog calm enough that you can work safely and repeat the process next time without a fight.
Choosing Your Tools and Setting the Stage
The tool matters, but control matters more. A decent clipper in steady hands is safer than a fancy tool used in a rush. Before you trim anything, set up a quiet, bright area where your dog can stand, lie down, or lean comfortably without slipping.
Pick the tool that gives you control
Guillotine-style clippers are often recommended for beginners because they can offer precise control, but they still require training and a good angle. Some groomer reports suggest novice attempts can quick the nail in up to 20% to 30% of cases without proper training (WSU guidance on clipping technique and tool choice). That doesn’t mean guillotine clippers are bad. It means no tool protects you from rushing.
Scissor-style clippers are useful when you need access to thicker nails or awkward angles, and many people prefer them for dewclaws. Rotary grinders remove nail gradually and can be helpful for smoothing edges or working very cautiously, but some dogs dislike the sound or vibration.
| Feature | Nail Clippers (Guillotine/Scissor) | Nail Grinder |
|---|---|---|
| Cut style | Removes a small piece of nail at once | Files nail down gradually |
| Speed | Faster when the dog is cooperative | Slower but more incremental |
| Control near quick | Good if you take tiny cuts | Good for cautious shaping |
| Noise | Usually quieter | Motor noise can bother some dogs |
| Finish | May leave a sharper edge | Smoother edge |
| Best use | Routine trims, quick tip removal, dewclaws | Finishing work, cautious shortening, dark nails for some owners |
A grinder can be forgiving on the nail. It isn’t always forgiving on the dog’s nerves.
What works best for many first-time owners is a combination. Clip the tip off with a sharp clipper, then smooth with a grinder if your dog tolerates it. If your dog hates the grinder noise, skip it. A simple nail file can tidy rough edges without adding more stress.
Build a trim kit before you start
Don’t gather supplies mid-session. Once a dog decides they’re done, you won’t win by fumbling through a drawer.
Keep these nearby:
- Primary tool: Guillotine or scissor-style clippers that feel stable in your hand.
- Bleeding backup: Styptic powder, or a household clotting option such as flour or a baking powder and cornstarch mixture.
- Rewards that matter: Small, high-value treats your dog doesn’t get every day.
- Good lighting: Natural light or a bright lamp so you can read the nail surface.
- A towel or bath mat: Useful under the dog for traction, or across your lap for smaller dogs.
- Optional smoother: A rotary grinder or nail file for sharp edges.
If your dog also struggles with routine grooming, improving the overall coat and body-care experience can help you build tolerance around handling. A practical example is building pleasant grooming routines around bathing and deodorizing, not just trims, as in this guide on making a dog smell better.
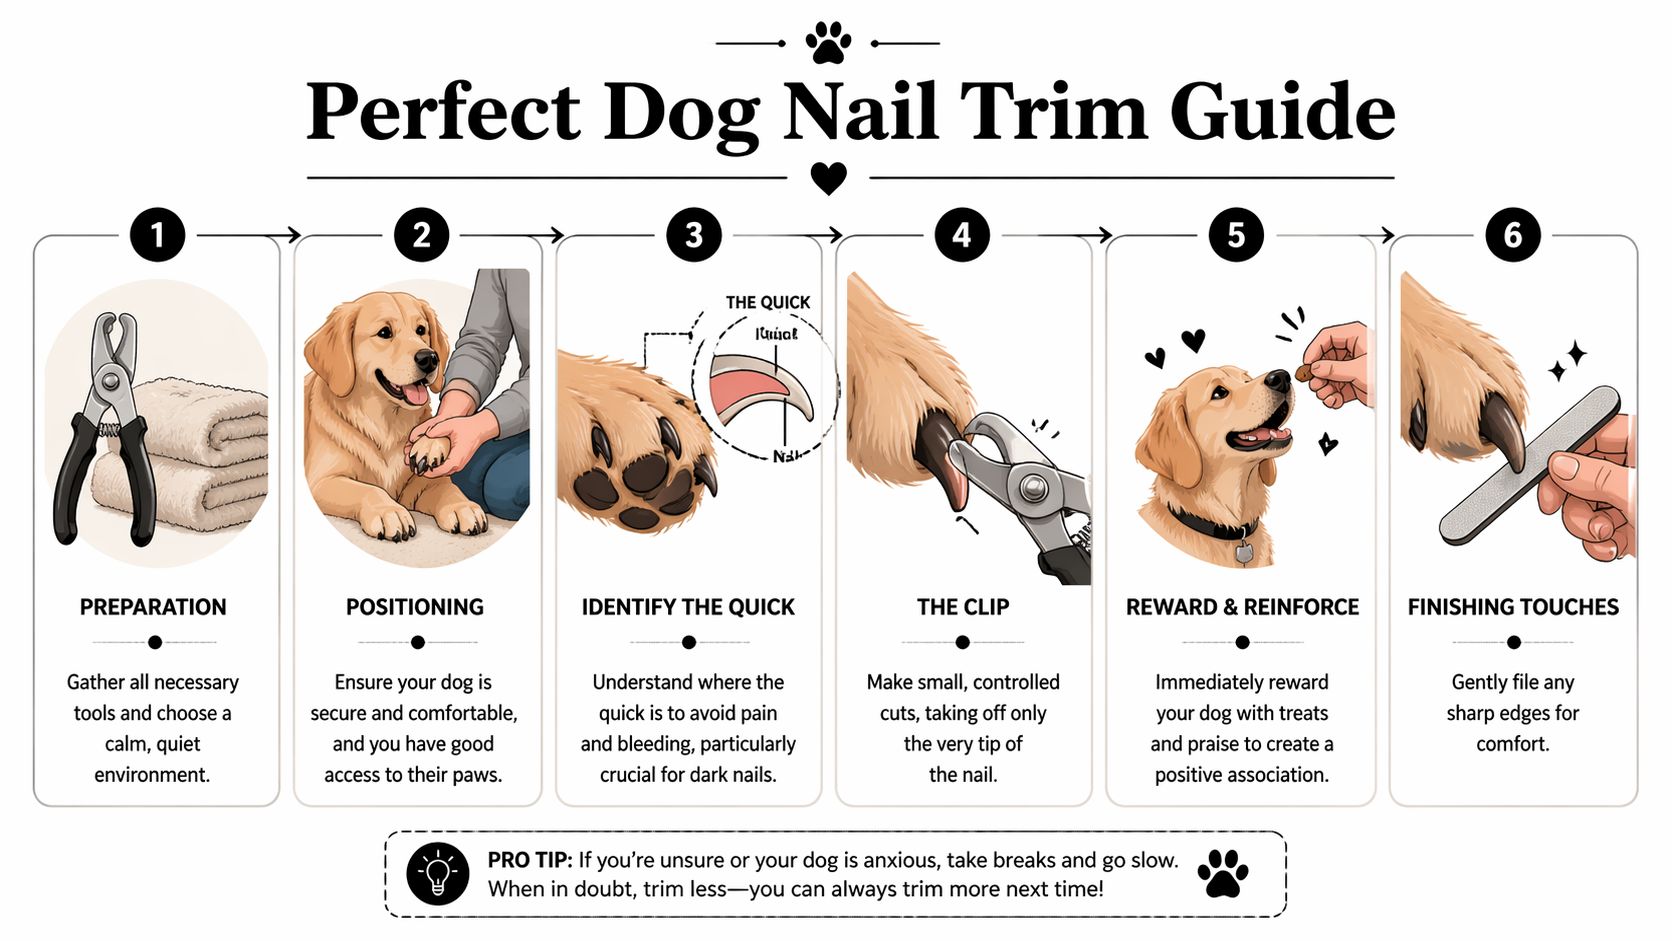
A Step-by-Step Guide to the Perfect Trim
Mechanical skill matters here. If your setup is calm and your hand placement is solid, the trim gets much easier. The basic technique is to cut only the tip, in small slivers, at a 45-degree angle, while staying clear of the quick (AKC guidance on trimming dog nails safely).
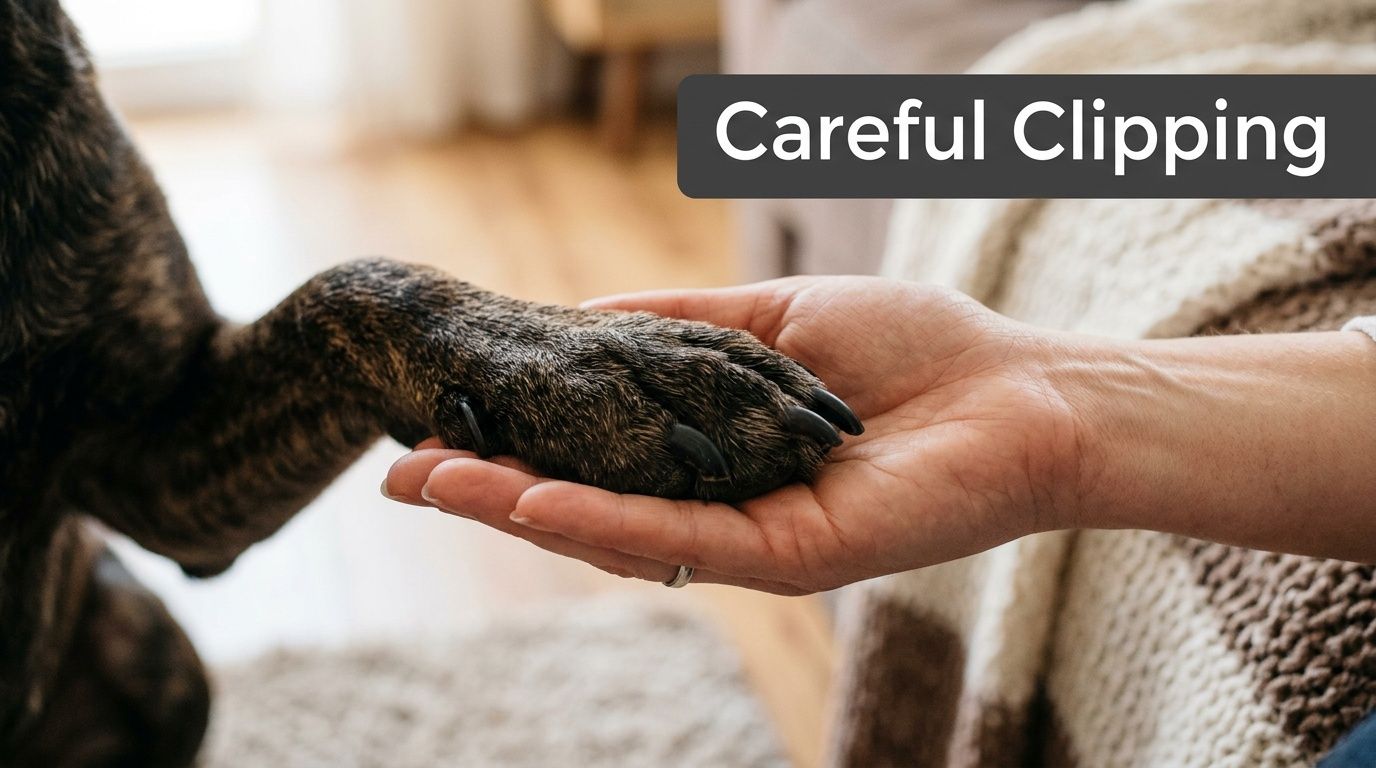
Position the dog before you touch the nail
Bad positioning causes more mistakes than dull clippers. You want the paw steady and the rest of the body relaxed enough that you can release quickly if needed.
For a small dog, the easiest option is often your lap or a table with secure footing. For a medium or large dog, many owners do best with the dog standing or lying on its side. If the dog is standing, keep them facing away from you or tuck them gently against your body so they can’t keep spinning to inspect your hands.
Try this sequence:
- Set the body first: Get the dog balanced on a non-slip surface.
- Hold one toe, not the whole foot: Use your thumb and forefinger to isolate the toe.
- Extend the nail: Gently squeeze the toe so the nail protrudes clearly beyond the fur.
- Clear the hair: Move fur away before you bring in the clipper.
Read the nail before you cut
On light-colored nails, the quick usually appears as a pink area inside the nail. That’s your no-cut zone. Your safe trimming area is the hooked tip beyond it.
On darker or thicker nails, don’t guess based on length alone. You need to read the cut surface as you go, which is why small slices matter.
If you can’t confidently identify where to stop, that is not the moment to “just get it over with.”
A useful habit is to examine each nail from the side before cutting. Look for the curve or hook at the very end. That overhanging tip is usually the first thing to remove.
Make the cut in small slices
Hold the clipper so you’re removing a thin sliver, not a chunk. The recommended angle is 45 degrees, and small tip-only cuts are safer than trying to restore the whole nail in one motion.
Use this sequence for each nail:
- Start with the hook: Remove only the very tip.
- Pause and look: Check the center of the fresh cut surface.
- Repeat in tiny increments: One small cut at a time.
- Reward often: Some dogs do best with a treat after every nail. Some need one after every single clip sound.
If the nails are overgrown, don’t try to fix months of length in one sitting. Weekly trims allow the quick to recede over time, which is the safest way to bring nails back to a healthier length.
A few practical details matter more than people expect:
- Don’t twist the clipper as you cut. That can crush or split the nail.
- Don’t hold the paw too loosely. The clip itself should be quick and deliberate.
- Don’t insist on all four feet. A calm partial trim beats a full battle.
Clinic habit: I’d rather see three nails done well than twelve done while the dog is panicking.
Handling Dark Nails and Anxious Dogs
You sit down with the clippers, your dog sees the tool, and the whole body changes. The paw pulls back. The breathing gets faster. With dark nails, your confidence can drop just as fast because you cannot see the quick the way you can in clear nails.
These are the two problems that cause most home trims to stall. The fix is usually not better bravery. It is a slower plan, better timing, and a clear stopping rule.
Dark nails need careful visual checks after each small cut. Anxious dogs need conditioning before clipping starts. If you rush either part, the session usually gets harder the next time.
A simple conditioning plan for dogs that dread nail trims
If your dog tenses up at the sight of the tool, spend a few days teaching that paw handling and clipper sounds predict something good. Keep sessions short. Thirty seconds to two minutes is enough for many dogs.
Day 1: Set the clippers or grinder on the floor several feet away. Let your dog notice them. Reward calm looking, sniffing, or standing near the tool. Briefly touch a shoulder, leg, or paw, then reward again.
Day 2: Hold the paw for one or two seconds at a time. Touch each toe. Bring the tool close to the paw, then feed a treat. Still no cutting.
Day 3: Rehearse the trim without trimming. Hold the paw, position the clipper, squeeze the handles away from the nail so your dog hears the sound, or turn the grinder on for a second, then reward.
Some dogs need more than three days. That is normal. If your dog freezes, pants, pulls away, or starts fighting the hold, lower the difficulty right away. A dog who is already stressed in other quiet parts of the day may need a broader comfort check first. This guide to why a dog may be panting at night can help you spot signs that stress, pain, or discomfort are showing up outside nail care too.
I tell owners this often in clinic: ending early is not failing. A calm stop is better training than one more forced nail.
What to look for on dark nails
With black or brown nails, you are reading the fresh cut surface, not hunting for a visible quick from the outside. The change is subtle, but once you know what to watch for, it gets easier.
Look for this progression:
- At the tip: The first cuts remove the hooked end.
- As you get shorter: The center of the cut surface often looks lighter, dry, or chalky.
- Near the quick: A small darker or moist-looking center starts to appear.
- Your stop point: Stop before cutting into that center.
That center can look black, gray, or faintly pink depending on the nail. The nail may also look shinier as you get closer to live tissue. If you are unsure, stop there and reassess next week. Taking off slightly too little is usually safe. Taking off slightly too much is what creates setbacks.
Safer choices for anxious dogs
Some dogs tolerate clipping but hate the pressure of the blades. Others panic at the grinder sound but stay calmer with quick hand clips. Use the tool your dog can handle best, even if it is slower.
A few adjustments help:
- Trim after exercise, when your dog is calmer but not exhausted
- Use a non-slip mat or towel so footing feels secure
- Ask for one paw, then give a break
- Reward after each nail if needed
- Stop before your dog reaches the point of struggling
If you only finish two nails today, that can still be a good session. The main goal is a dog who stays workable next time.
Later in the process, seeing the technique helps many owners more than reading it. This walkthrough is a useful visual companion:
If you still cannot judge a dark nail with confidence, do less. Trim only the obvious tip, or smooth the edge and stop. Safety and trust matter more than finishing every nail in one sitting.
Aftercare and Troubleshooting Common Issues
A trim can go well right up to the last nail, then one small mistake turns the room tense. That is usually the hardest part for first-time owners. The goal after a slip is to keep your dog from learning that nail care ends in panic.
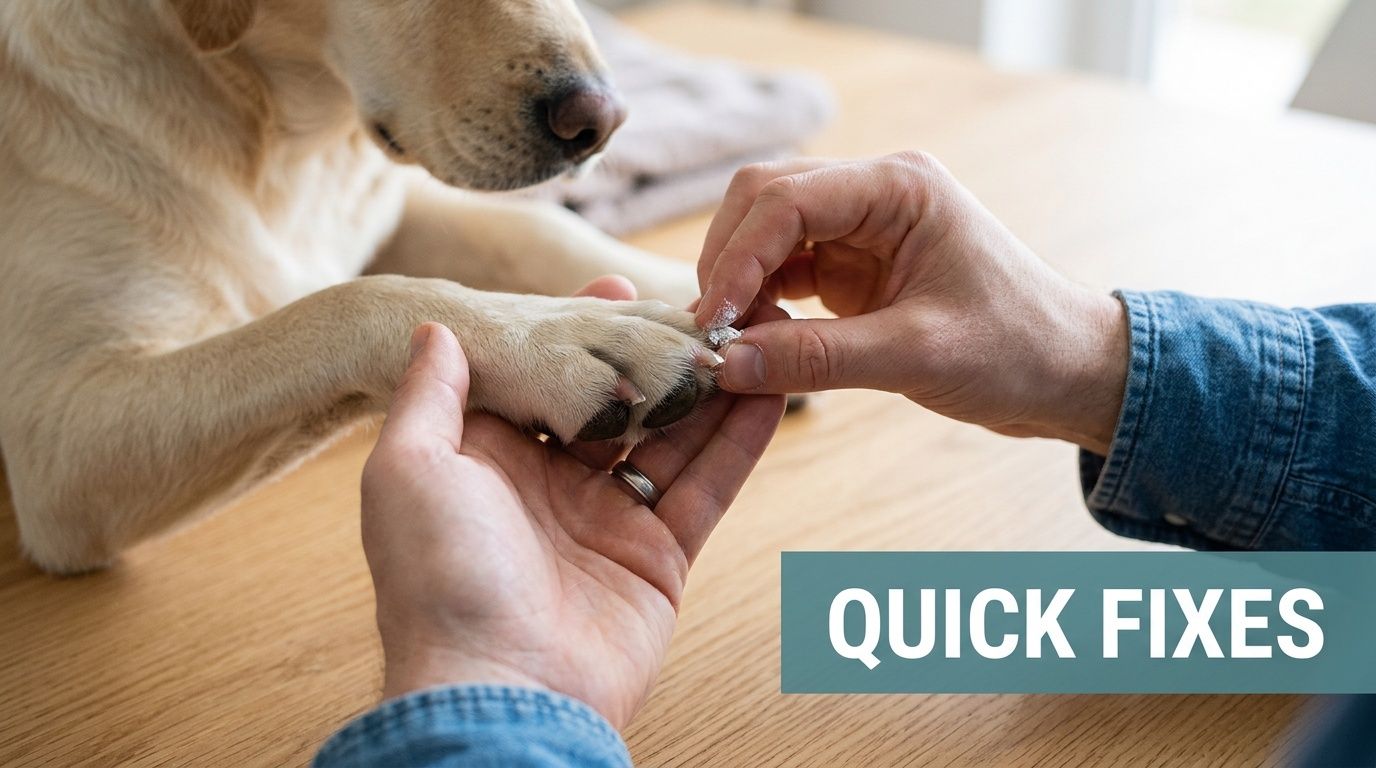
If you cut the quick
Quick cuts happen, especially with dark nails or a dog that jerks at the wrong moment. Most are minor. They bleed more than owners expect, but they usually look worse than they are.
Do this in order:
- Stop trimming right away: Set the clippers down so you can focus on your dog.
- Keep your voice low and steady: Fast movements and alarm in your voice make the next trim harder.
- Apply styptic powder or cornstarch: Press it onto the nail tip with firm, gentle pressure.
- Hold pressure for several seconds: Check, then repeat once if needed.
- End the session if your dog is upset: A calm stop is better than forcing one more nail.
- Reward and let your dog leave: Food, praise, and a short break help prevent a setback.
If the bleeding does not stop after a few rounds of pressure, or the nail is torn higher up, call your vet. The same goes for a nail that is split into the base, hanging loosely, or followed by limping. Those are not home-trim problems anymore.
One practical note. Keep styptic powder or cornstarch within arm’s reach before you start. Going to hunt for it while your dog leaves bloody paw prints across the floor raises everyone’s stress.
What to do after a rough session
Some dogs recover from a nick quickly. Others remember it at the next appointment. That is why aftercare is not just about the nail. It is also about protecting your dog’s trust.
For the next day or two, handle paws briefly and pair that handling with something your dog likes. A treat after a touch. A calm paw hold during cuddle time. For dogs that already worry about nail trims, go back to the conditioning steps from earlier rather than trying to make up missed nails all at once.
If you only got halfway through the trim, that is fine. Resume another day when your dog is settled. Short, uneventful sessions build better long-term tolerance than one forced finish.
How often to trim
The best frequency depends on your dog’s nail growth, gait, and surfaces they walk on. A common starting point is every 3 to 5 weeks, then adjust based on what you hear and see at home.
Two cues matter most:
- Clicking on hard floors: usually a sign the nails are getting too long
- Nails touching the ground when your dog stands or walks: time to trim
- Front nails growing faster than back nails: common, so do not assume all four feet need the same amount off
- Dewclaws curling inward: check these separately because they do not wear down normally
Regular short trims help the quick recede over time, which makes future trims safer. That matters most in dogs with overgrown nails and in dark nails where the margin for error feels small. Small reductions done consistently are safer than waiting too long, then trying to remove a lot in one session.
If a nail edge feels sharp after clipping, smooth it with a file or grinder for a second or two. If your dog hates the grinder, leave the edge alone and let normal walking wear it down. Perfection is not the goal. Safe, repeatable care is.
When to Outsource to a Groomer or Vet
Sometimes the safest trim is the one you don’t do yourself. That isn’t failure. It’s judgment.
Call a groomer or veterinary team if your dog snaps, thrashes, screams, or can’t be handled without force. Also get help if the dewclaws are curling inward, a nail is badly split, or you still can’t interpret dark nails after working slowly and consistently.
Professional help also makes sense when the relationship is starting to sour. If every home attempt ends with both of you rattled, a trained groomer or vet tech can reset the process and keep nail care from becoming a recurring fight.
For many dogs, the best plan is shared responsibility. A pro handles the hard resets. You maintain the routine at home with shorter, calmer touch-up sessions.
If you want more plain-English pet care help like this, visit MyPetGuider.com. It’s a practical resource for everyday grooming, training, health basics, and care routines that make life easier for both you and your pet.

Leave a Comment